What you'll need:
- Black and yellow paint
- Paint brushes
- Paper
- A list of your kids' birthdays
- Eyeball stickers (optional)
- Some tiny adorable feet
What to do:
- Paint your child's foot with yellow and black stripes. In the past when I did bumblebee feet I painted the whole foot yellow and added the black stripes to the dry footprint, I suggest that method, it makes for less smudging.
- Have your child put their foot on the paper. This part can actually be a bit more tricky than it sounds. If your child is sitting, they may not be able to reach the floor and you'll have to stand them up. Standing them up without putting the painted foot on the floor before you're ready is tough so hold that foot with one hand and help them balance on the other foot with the other. Also when you do get the foot on the paper it will be slippery with paint and the kid will move around. Try presetting them to wait until you are ready, then quickly put the foot down, hold it in place while counting to 5 out loud, they'll want to count with you!
- After the footprint is done, help them sit back down without getting that painted foot on anything else. Use a wet paper towel or baby wipe to clean off the majority of the paint, your probably won't get it all off but it will come off after a bath or two at home.
- After your footprint is dry, draw some antennae and wings next to it. In one wing write your child's name and in the other write their birthday. Don't forget to add a face!
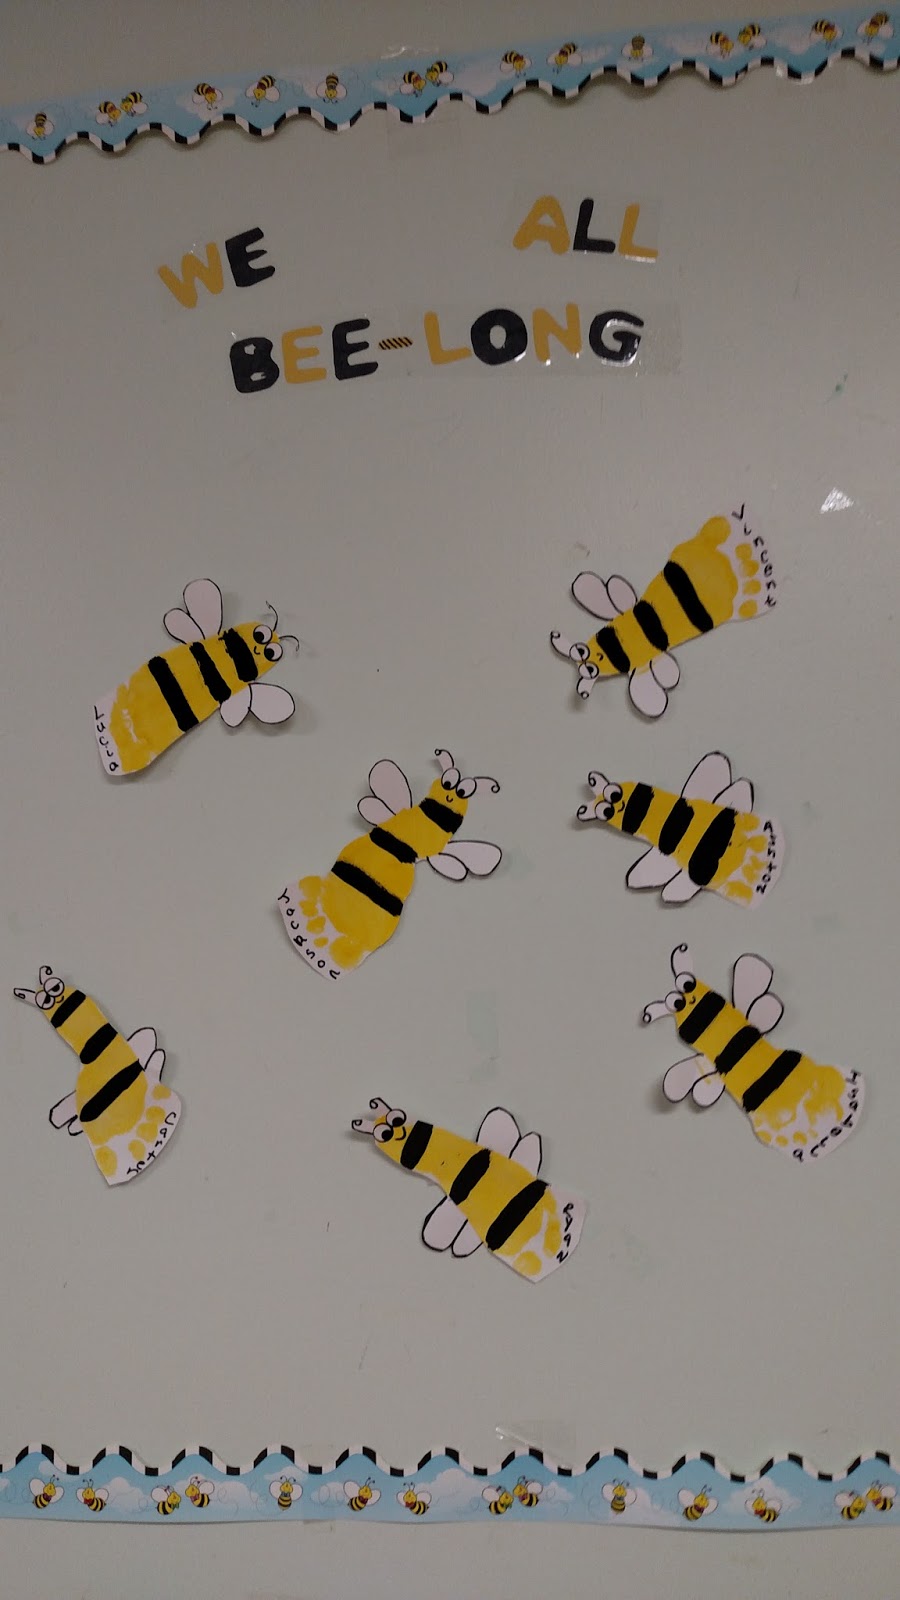
The finished product:

Some of them are handprints, I had some kids that had issues with the thought of their feet being painted but were willing to do their hands. Same steps!